The bed collapsed. Moments earlier, Eli and I had been playing tag on a rainy day inside the house. I leaped onto the bed to get him. The bed is not designed to withstand a lateral load. Most of it was cheap particle board and not worth saving… but I salvaged some wood slats!
I figure they’d make good bookshelves. But first, I need a bracket, which I can design and print on my 3D Printer. Using Tinkercad, I went through a few iterations…
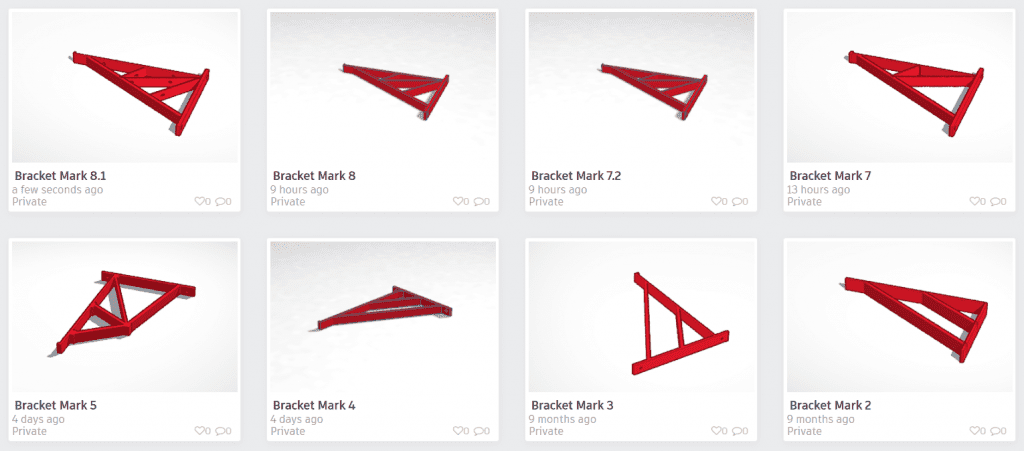
My prototype, the Mark 3 (White, below), was almost perfect. The only issue is three months after I installed it, all of the books on it came crashing down. I attribute this to overtightening the screws, which caused cracking, which eventually caused the plastic to give way.
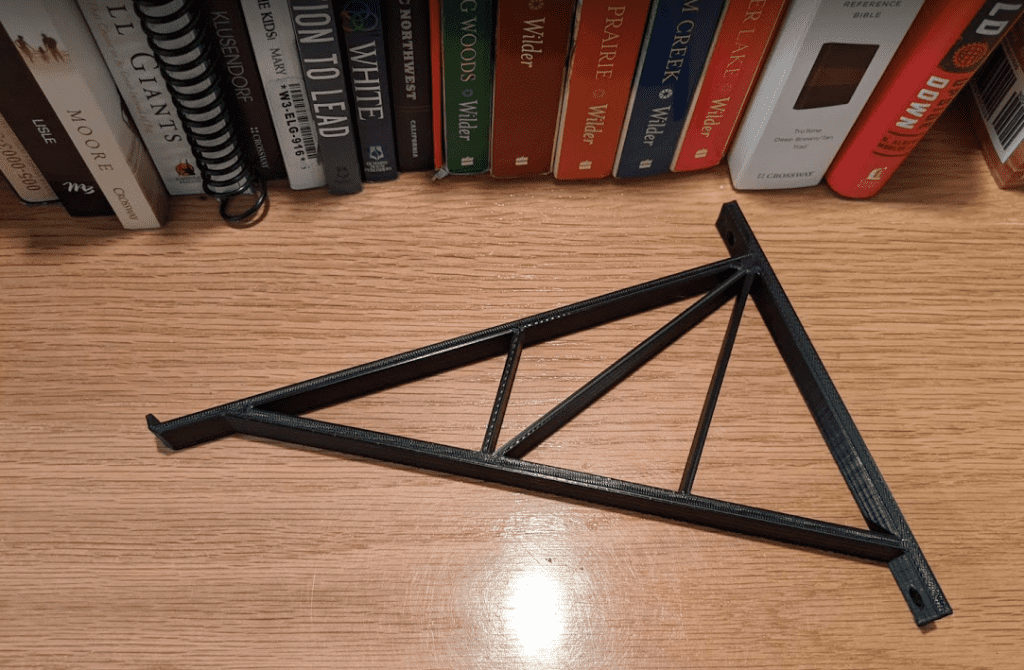
My second printed prototype, the Mark 8 (Black below), is being put into production today. I thickened the area where the cracking occurred and improved the braces to better distribute the load. I’m not an engineer, but I know triangles are good. I got 7 of them in there somewhere, so it should be strong. I printed it in black (white seems to crack easily).
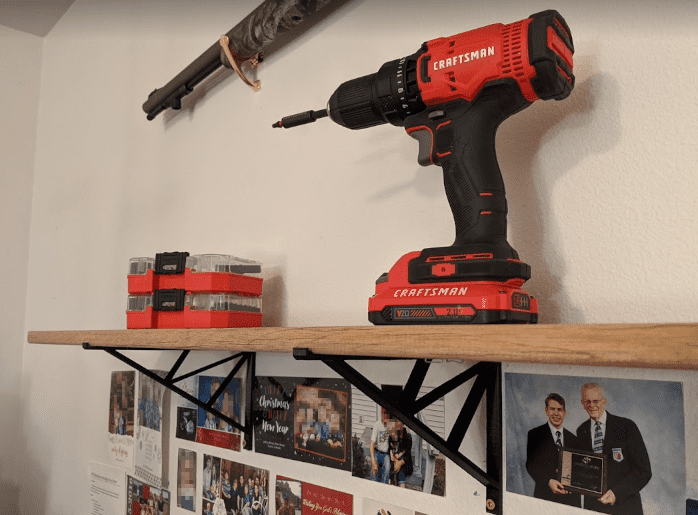
I’m hoping this one lasts a little longer! So far, it’s holding my drill. We’ll see how it does once I load it with books.
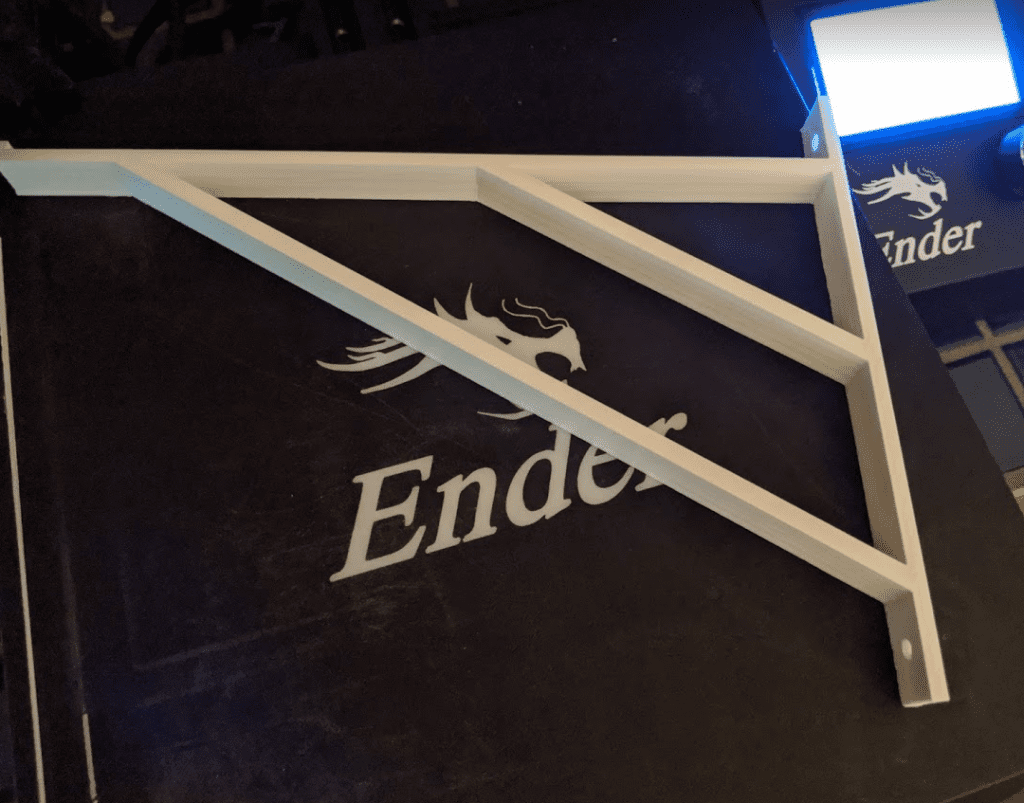
I printed them on the Ender 3 Pro–I just had to rotate it at an angle so it would fit. 8.1 includes holes pre-drilled in the top, which can secure the slats to the brackets using screws or bolts.
I should note these shelf brackets are experimental and may collapse due to earthquakes, kids tearing through the house or climbing on them, any load, or at a random time for no reason whatsoever.
If you like living life on the edge, here are the STL files:
.
That looks like Art Rorheim in the corner!
Nice use of the Ender 3. Ours has mostly been used for toys/figurines. I have a few ideas for practical usages but haven’t been able to put the time in to design something in CAD.
Yep, that is Art Rorheim!
We’ve done a lot of small toys as well. Tinkercad is easy to use. I just went through their quick tutorial and knew enough to make brackets. I’ve found almost everything I can think of is already on Thingiverse–even obscure things like Bike mounts for my VersaTrack wall system. So haven’t needed to design much myself.
Cool project.
I’m curious how you arrived at the final design, specifically in reference to the deadman brace. I’ve typically seen these set at either a 45 degree angle or somewhat less to provide more vertical support for the weight it’s carrying. I wonder if that may have contributed to the premature end of the Mark 3 brackets? :)
I’ve been using braces more lately and sort of guessing at a decent design. I’m sure with a little engineering background it could be made better. The Mark 8 was slightly inspired by this 3D print design where the computer designed the topology to support the weight: https://toms3d.org/2019/08/06/making-strong-shelves-with-topology-optimization/ I looked at what that guy’s computer came up with and guessed where I needed to put my braces… and made sure to get triangles in there.
I hadn’t thought about going to 45, but I see what you mean, going to 45 degrees would take some load off of where it failed last time. Unfortuntaly my print bed is too small to allow for any more vertical space printing it on the side–I actually have to rotate it just right to make it fit. Now if I printed it vertically I could gain enough height to do 45 degress but then the layers would be parallel to the direction of load. I just need a bigger 3D printer. |:-)