I’m not sure exactly how it started, it might have been when Eli and I were trying in vain to find Lego Technic sets with lots of gears, or when Kris was discussing with me purchasing learning aids for school. … and I started to realize we could 3D print this stuff!
Just with the things we buy for school each year a 3D printer will pay for itself in 2 years.
What is 3D Printing?

3D Printing is also known as Additive Manufacturing (AM). This means instead of injecting molding, items are created by printing layers on top of layers. Now injecting molding is fine for mass production, but for small quantities it doesn’t make since because molds aren’t cheap to make. For 3D printing a variety of methods and materials can be used. I use PLA (Polylactic acid), the plastic is fed to the printer and heated to the point of melting. It then comes out a nozzle where it is cooled and solidifies. The nozzle is controlled by X, Y, and Z axis stepper or servo motors allowing the nozzle to be positioned anywhere in the print area.
Of course, I know very little about 3D printing so I turned to my coworker, Brad, who has designed and printed out prototype aircraft components and has actually flown them. I asked him for the best quality budget 3D printer. He has a few of the larger fancier Creality printers and told me the next one he would likely buy for himself for smaller prints was a little Creality Ender 3 Pro. One thing I’ve learned: if the expert is willing to buy something for himself, that’s what you want.

The Ender 3 Pro comes with all the tools needed for someone new to 3D printing. Allen keys, wrench, screwdriver, pliers, SD card and USB adapter, nozzle cleaner needle, blade, etc. The Pro version adds a few features that I think make it worth the extra cost of the normal Ender 3: It is a bit more sturdy, has a better (quieter) PSU, can resume printing after a power failure, and has a magnetic flexible print bed which eliminates the need for glue or hairspray to get prints to stick. The 3D prints adhere very well during printing and peels right off when done. I hardly ever need to print with rafts or support structures. I don’t even print a brim.
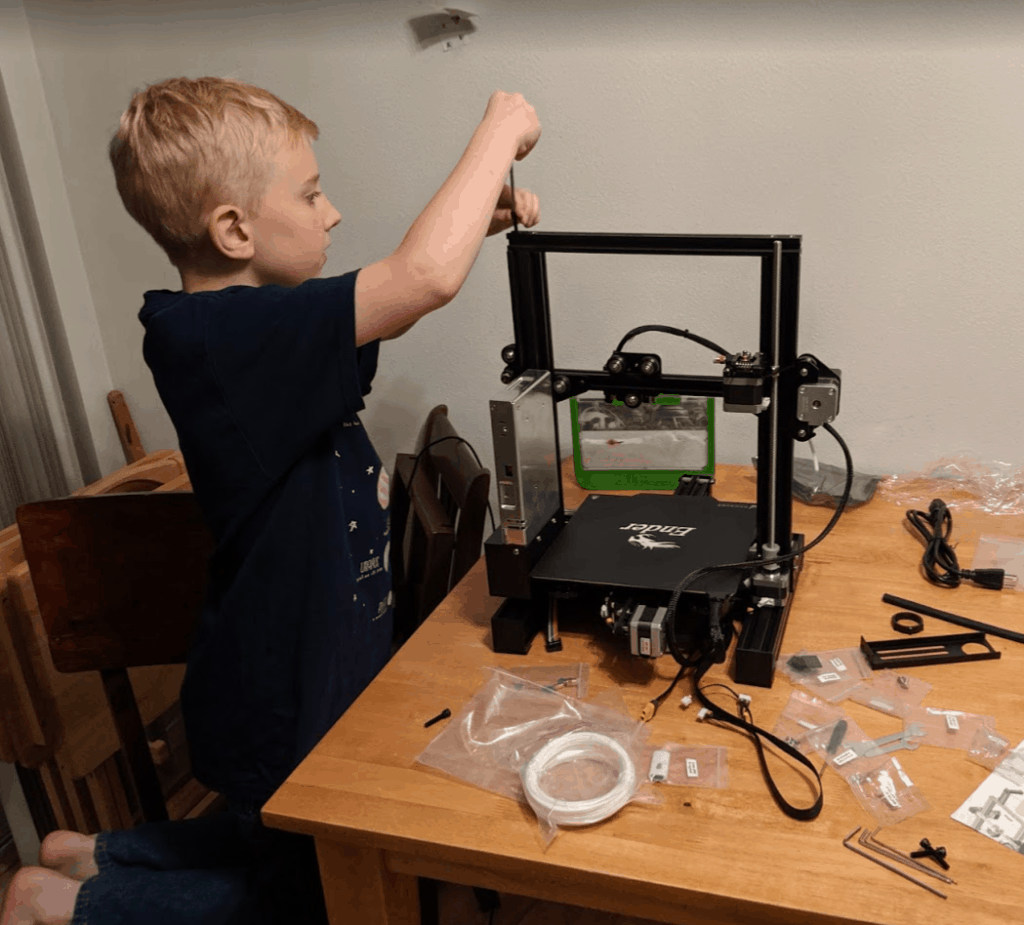
It arrived noon on Friday, Eli couldn’t wait so he and Kris mostly had it together before I got home. We finished the assembly, I didn’t level the bed or anything, I popped in the SD card that came with the machine, selected the cat model that was already on the card, and it started printing, and printing, and printing…. okay, so it took a long time. So we all all went to bed.
Next morning I woke up to hearing, “It finished!” We had a cat! Which Eli promptly painted. …here’s our first print:
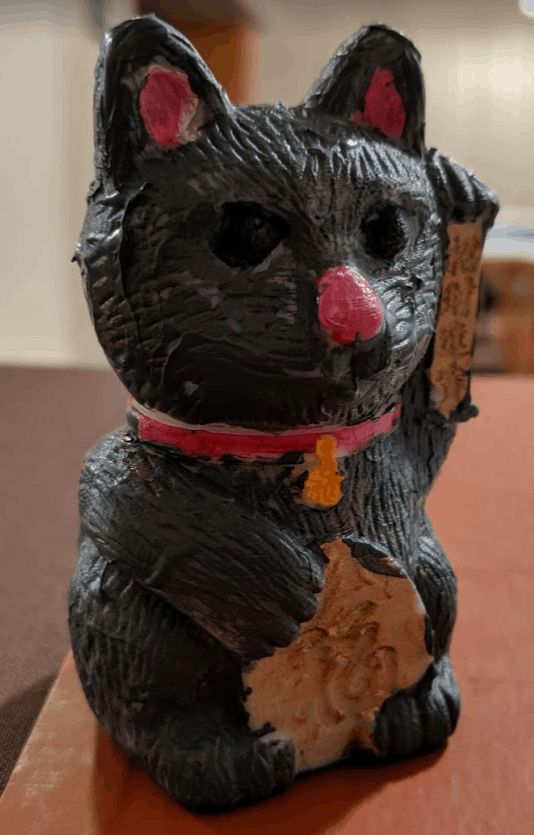
Not bad for a first try.
For our second print we decided to print something simple like the Eiffel tower. I found one on ThingiVerse and opened it up in the Creality Slicer (a slicer is a program that converts 3D models into a gcode file that the printer understands) that came with the printer. It took me 3 tries.
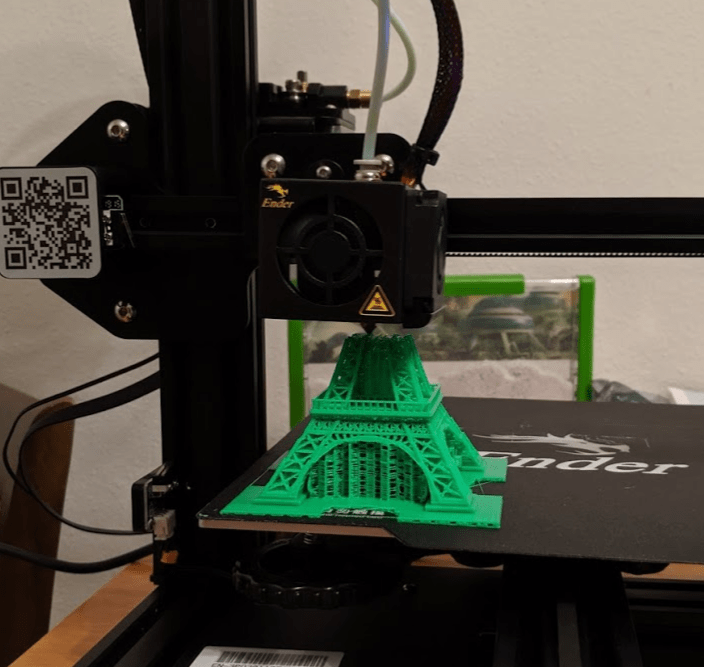
Our first attempt ran for an hour or two then one of the 4 legs fell over. I tried it again with a raft but it still fell! Then I made huge rafts and a support structure and it worked! But the print came out stringy. I was using Creality Slicer since it came with the printer. Then I remembered Brad told me to try Cura. So I downloaded that… and it was a night and day difference (even though Creality Slicer is based on Cura). I told Cura what printer I had and it had pre-loaded sane defaults for everything from print speeds to head extraction. Now that I’m printing with Cura, I don’t need support structures, and no stringing. I’m guessing most of the difference was in the default profiles.
Print Workflow
What does a 3D print workflow look like?
1. Go to Thingiverse and search for a 3D object. Thingiverse is a huge library of 1,500,000 3D printable models. I’ve found everything from Craftsman versatrack compatible bike hangers to spare parts for my car. Download the STL file (this is essentially a CAD file).
2. Open the STL file with Cura (free open source) which is a slicer to convert the object into instructions the 3D printer can understand. Cura has well tuned default profiles for the Ender 3. The instructions will output into a .gcode file. I popped one open and it is a text file with line by line instructions for the printer to go to these x y z coordinates at these speeds at this temperature, etc. Essentially you copy this to an SD card, insert it into the printer, and print the object.
3. The printer will pre-heat the bed and PLA, then start printing. I would say we have a success 9 out of 10 times. Sometimes I won’t have the bed quite level or the temperature won’t be right for the specific PLA brand/color I’m using (even different colors print at different temperatures). But you can save those color profiles in Cura so once you have it dialed in it should work going forward. Generally if the first layer succeeds the print will be a success.
4. When done, let it cool for 30 seconds, bend the magnetic bed and the print peels off.
Can you Design and Print Your Own 3D Models? Yes!
Just about everyone has asked me this question. You can.
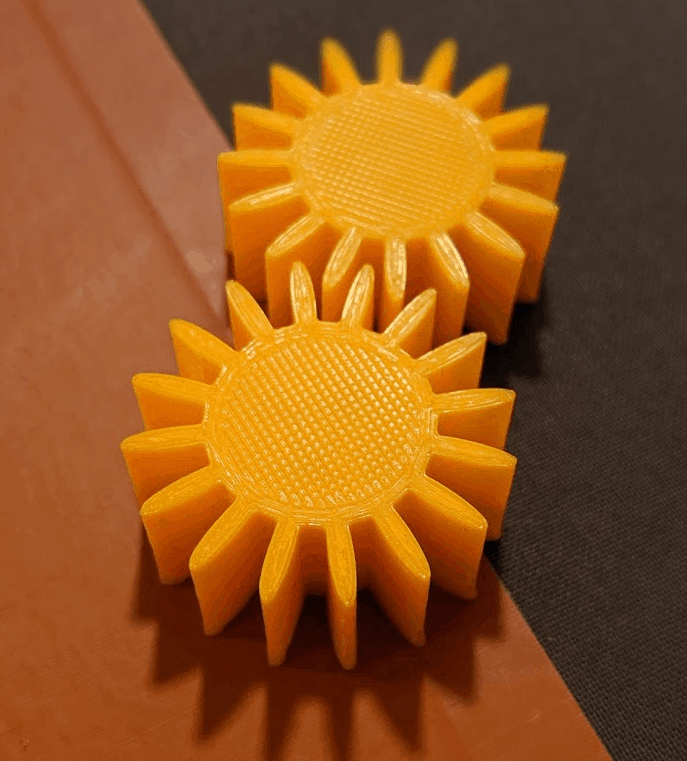
Tinkercad (by Autodesk) is a free web CAD designer that makes it simple to design 3D objects. The very first thing Eli designed in Tinkercad was a set of gears.
Stepper Motor Noise
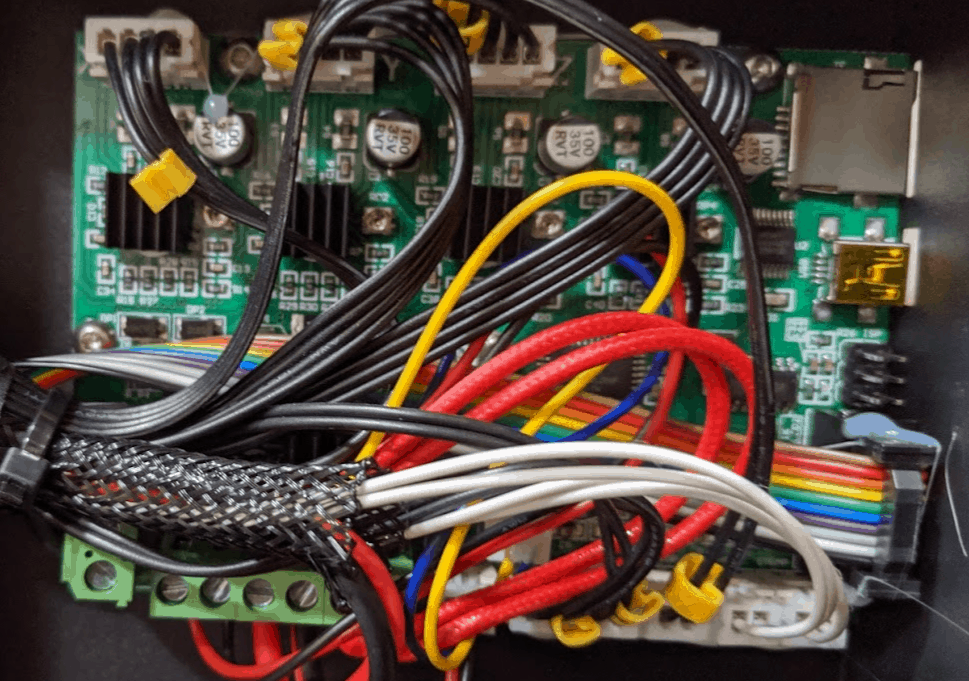
Okay, so one issue I had with the Ender 3 Pro is the noise the servo motors make. The best way I can explain it is the printer sounds like R2D2 and C3PO are arm wrestling and you hear it throughout the entire house. I ended up swapping out the control board for one with silent stepper drivers. Once I did that, the only noise you hear is the fans. Much better. We have it near the kitchen and I’d say it isn’t silent. The fan is noisier than a typical computer fan but not nearly as loud as the dishwasher.
Infill Patterns
In Cura, you can choose from a number of Infill Patterns. Each has their advantage. Some are designed to be stronger, print faster, save on material. One of the huge advantages 3D printing has is you can pick a pattern and density to provide the strength needed for a particular use. This greatly reduces the amount of plastic needed to fill in a part. Here are the infill patterns in Cura:
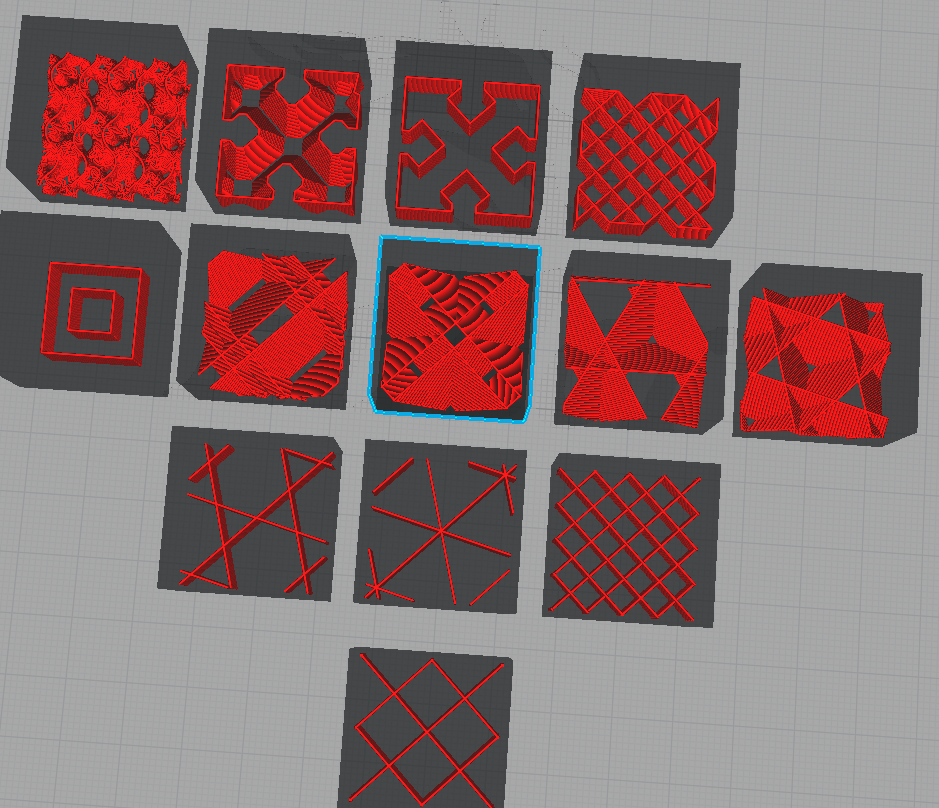
Left to right the infill patterns are:
- Gyroid
- Cross 3D
- Cross
- Zig Zag
- Concentric
- Quater Cubic
- Octet
- Cubic-Subdivision
- Cubic
- Tri-Hexagon
- Triangles
- Lines
- Grid
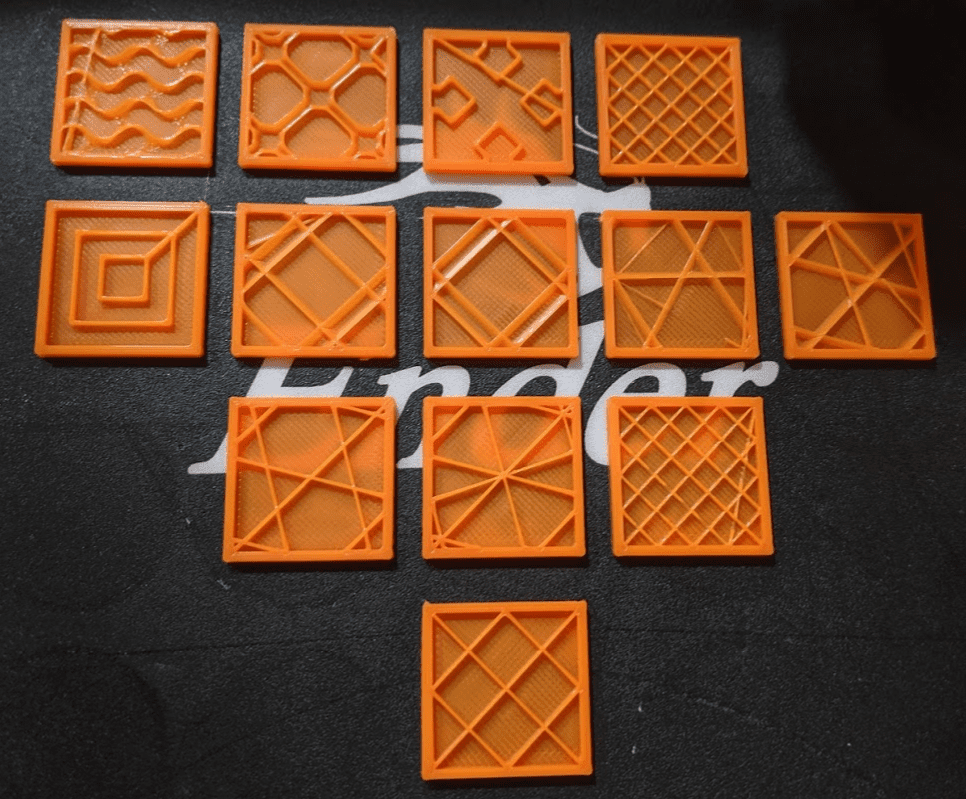

I usually use lines for quick prints. If I have a larger shape that needs to bear stress in multiple directions I’ll either use Gyroid (which is a 3D pattern found in creation) and or Cubic-Subdivision which will use more density around the perimeter and less in the middle (like bones).
Getting Started in 3D Printing
Here’s what I bought to get started.
- Creality Enter 3 Pro 3D Printer. 3D printer along with an essential set of tools.
- Silent Stepper Drivers Motherboard Upgrade
- Gizmo Dorks PLA Filament 1.75mm, 200g 4 Color Pack. I wanted to try a few different colors. These were easy to start with.
- Hatchbox PLA 1 kg spools in various colors.
One thing I’d say about 3D printing is at my budget it is not quite there when it comes to easy of use. There was nothing me, Kris, and Eli couldn’t figure out and get working, but it look us a bit of time to get the bed leveled and temperature settings dialed in. If you want something that is closer to “hit print and it just works” then you may want to pay a little more and get a Prusa Mini. It has auto-bed leveling and a network interface which makes it much more user-friendly. But you will pay quite a bit more for those features.
The Future
3D printing is the future. In the home it is going to replace the need to run to the store to get something small, and allow for 3D printing small parts to repair items instead of tossing them. Just like printers moved from businesses to homes, so will the ability to manufacture small plastic items. 3D Printing isn’t instant, but it’s already faster than Amazon Prime. And if it saves me from having to make a trip to Spokane to find some part it’s worth it.
For manufacturing, it greatly reduces the tooling costs. Injection molding will still be used for items produced in mass. But 3D printing lowers the tooling costs for smaller runs and one-off items. Not to mention the agility: a factory of general purpose 3D printers can instantly start printing something else to instantly meet new demands and market changes.
Things We’ve Printed (So far)…
- Cat
- Eiffel Tower
- Pumpkin
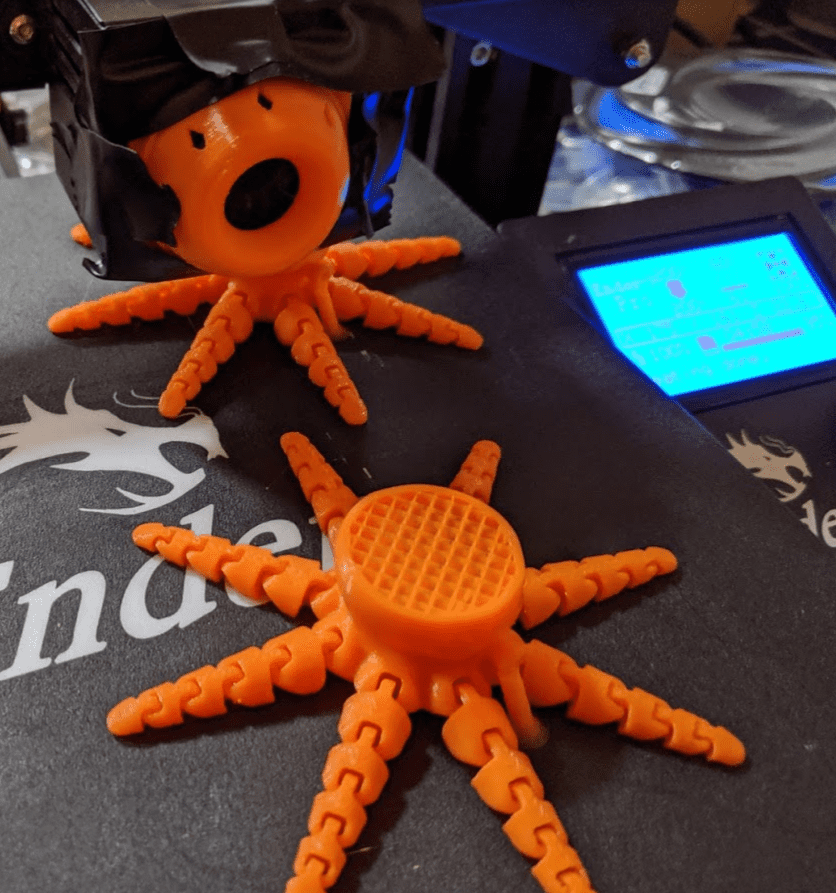
- Octopi to hand out as prizes
- Pumpkin Transformer
- UniFi USG and Switch mini racks
- 3D Topography Maps of the 7 Summits
- Craftsman Versatrack compatible bike hook
- Drawers to store tools for the Ender 3
- Impossible 3D shapes
- Jig for drilling axles in a Pinewood Derby car
- 3D Luther Roses for Reformation Day prizes
- Business Card Holder
- Gears
- Benchy Boat
- Lego compatible bricks
- Carabiner
Love the cat!