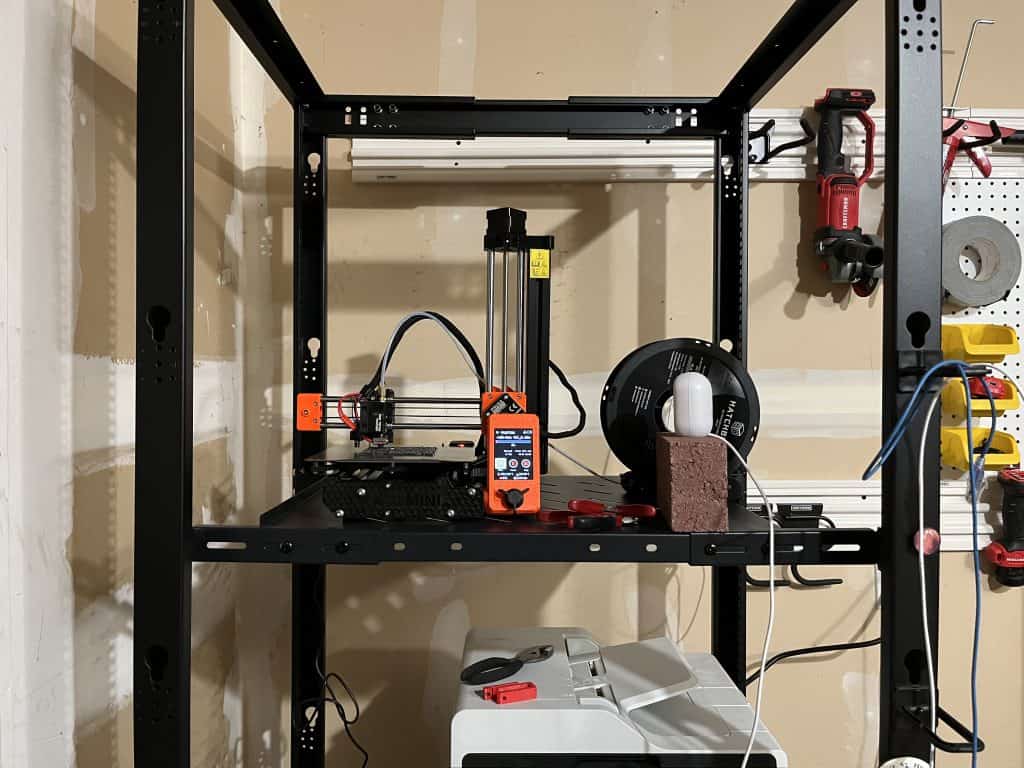
I’ve been running an Ender 3 Pro 3D Printer. But I wanted a workhorse, so I got a Prusa Mini+. The main features I was after:
- Small footprint
- Network Print.
- Auto-bed leveling.
- Print farm capability.
Batteries not included; some Assimilation is Required…
It took eight months from the time I ordered it to being fully operational.
- Time from Order to Arrival: 2 months.
- Replace Damaged T-Nut: 2 months. The kit came with a damaged nut that was so unique I couldn’t source it locally, so I had to wait for Prusa to ship a replacement from the Czech Republic.
- Wait for time to assemble it again (I was just swamped): 3 months.
- Assembly time: 1 month. This shouldn’t normally take this long, but the only workspace I have is in the living room, where I couldn’t leave it out, so a lot of time was spent unpacking all the little pieces and packing all the little pieces again. In hindsight, I should have bought the pre-assembled kit.
But once it’s up and running, it works perfectly. Well, not quite.
Calibration and Tuning
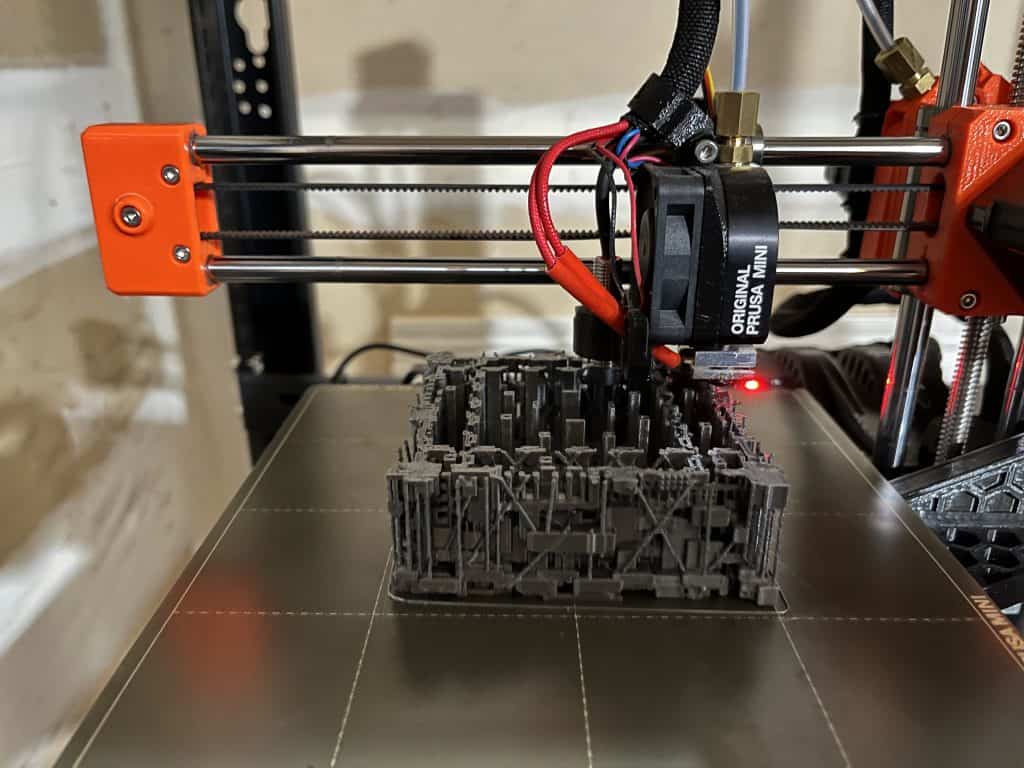
I had a bit of trouble with the X-Axis calibration failing. I tried removing grease, adding grease, tightening bolts, and loosening bolts. It looked to operate perfectly, but the X calibration test failed each time.
I noticed I could move the X-Axis with the steppers locked. That meant the belt was loose. No problem, tighten the belt. I tightened it so much that it couldn’t move, and the printer almost tore itself apart. At one point, the nozzle slammed into the bed, denting the steel plate. Arrrrggg!
There seems to be a fine line between overtightening and–oh wait. I installed the timing pulley backward! Whoops.
After that, calibration passed! Even though it passed, the Y-Axis was slamming into the housing hard–so re-I tensioned the Y-Axes pulley. And then…
It worked perfectly!
Now, it purrs like Scout.

It is mostly hands-off; I do have to calibrate the Z-axis after swapping between PETG and PLA. The automatic bed leveling is the best feature I’ve had in a 3D Printer.
Network Printing (after Firmware update)
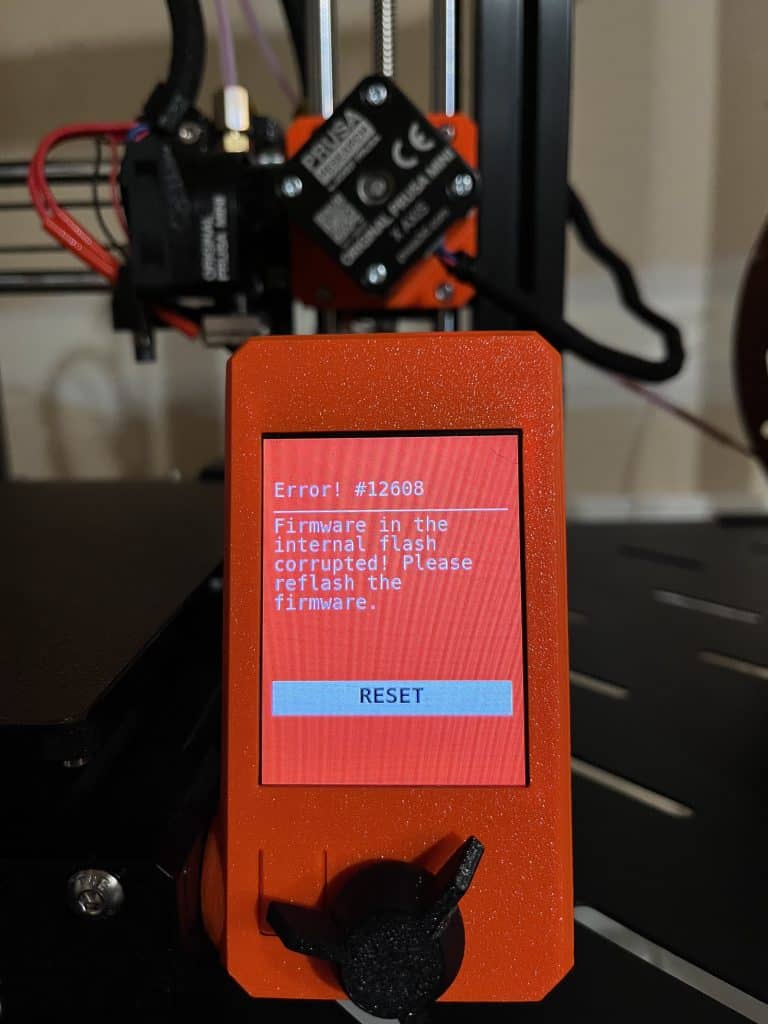
Network printing did not work out of the box. It turns out you have to flash Beta firmware (actually, it is in the release builds now, so maybe newer Printers will come with it). When I tried to flash the firmware, I got the Red Screen of Dread. “Error #12608, Firmware in the internal flash corrupted! Please reflash the firmware. ” I tried:
- Reformatting the USB drive. Fail.
- I tried a new USB drive. Fail.
- I tried deleting and re-creating the partitions. Fail.
- I tried a bigger USB drive. Fail.
- Maybe it needs a smaller USB drive. Fail.
- Maybe … just maybe it doesn’t work with a GPT partitions? Success!
It turns out you must use a USB drive that is MBR partitioned instead of GPT. I didn’t realize we had to go back to 1990’s… but here we are.
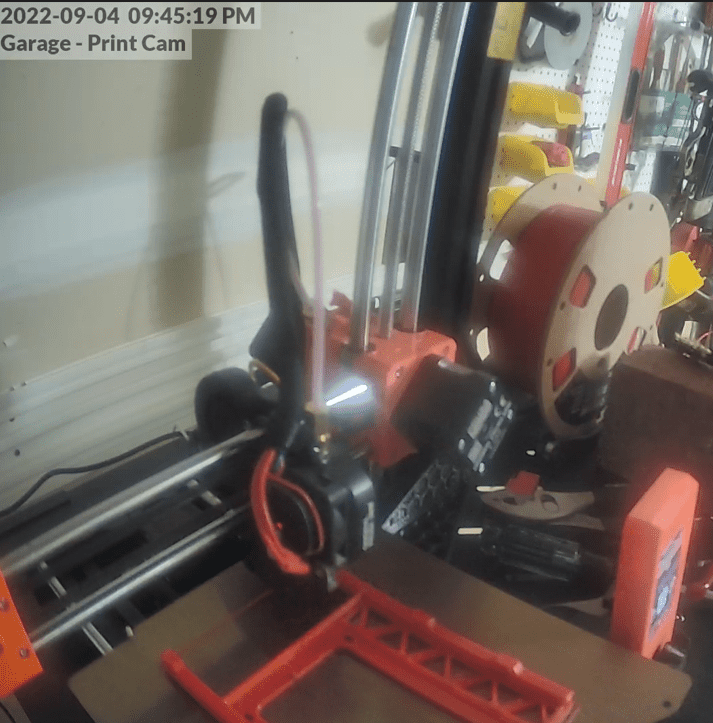
And finally, network printing is a wonderful thing. Plug it into an Ethernet port, and it works just like a network paper printer. From the PrusaSlicer I can slice a 3D model and send the G-Code straight to the printer. After a few minutes, I’ll check my camera footage to make sure the first layer gets down (and it does 90% of the time).
PETG Printing
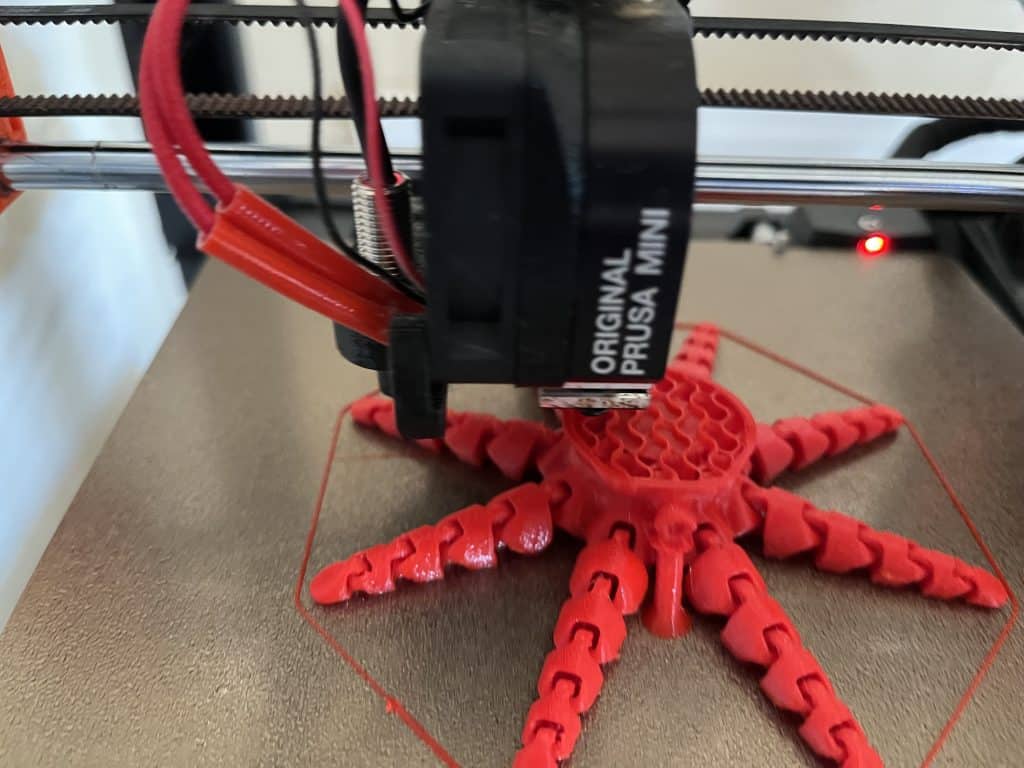
PETG is a stronger material than PLA, and I’ve done a few functional prints with it. PETG sticks to the build plate too well, so they say if you print on the steel plate, you should coat it with glue to make it easier to take off. I have no idea why anyone would want to do that; glue is messy. Instead, I use a textured build plate designed for PETG. The prints stick to it well during printing and pop right off when they’re done.
PETG costs are the same as PLA, and I like having the extra strength, so PETG is my new go-to.
Overall, here are my thoughts on the Prusa Mini+
Good things:
- The only tuning I have to do is Z-offset.
- Bed leveling is automatic.
- Network printing works and works well.
- PrusaSlicer
- Silent stepper motor drivers by default (I had to upgrade them on the Ender 3 Pro).
- PETG works well.
- Flashing LED to let you know it’s hot.
- Small footprint.
Bad things:
- Build Plate is smaller
- Y-Axis is a bit noisy. The Ender 3 Pro is quieter (with the upgraded silent stepper controller board). I wouldn’t run it at night in the house, but it’s fine in the garage.
- Assembly was a lot harder than the Ender 3 Pro.
- MBR partition required for flashing firmware
- Web interface is still very basic.
There’s magic at the intersection of quantum computing, Artificial Intelligence, and additive manufacturing.
― Hendrith Vanlon Smith Jr.
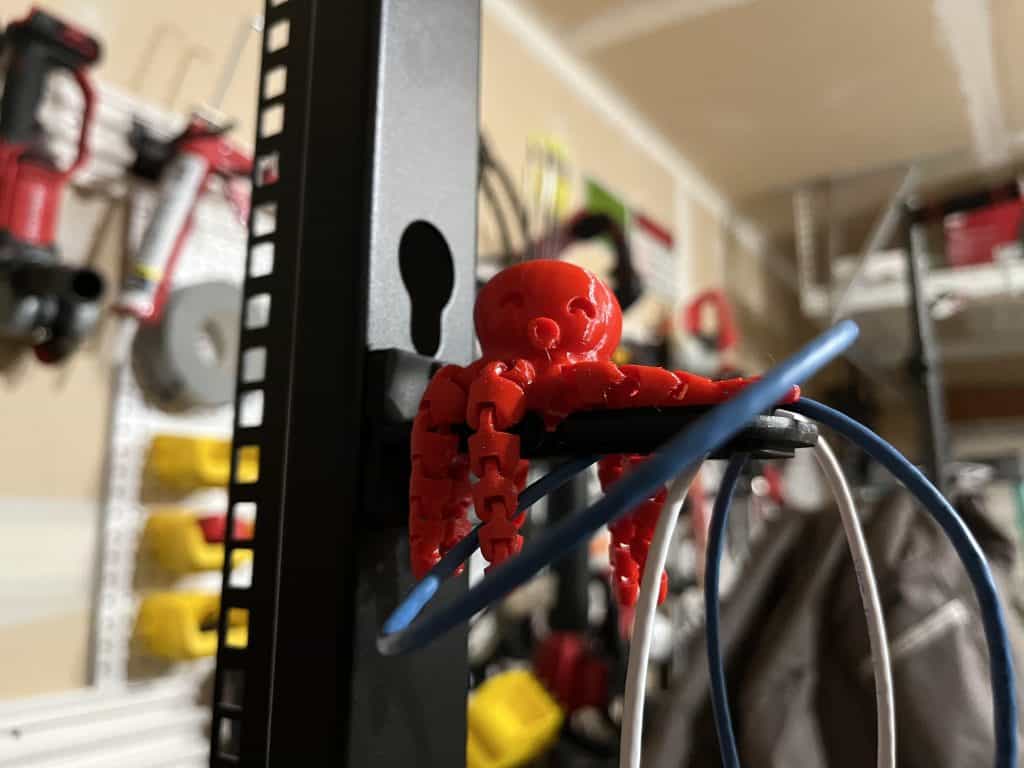
Thats a cool octopus!